Introduction
This article follows a website editor making minor changes to a page using Magnolia CMS. It uses the Magnolia CMS Demo Area, hosted by Magnolia International, which provides an area for exploring and practising the CMS and its functionality.
The Demo Area
Because the demo area is publicly accessible, some text and pages may appear differently to the examples shown below. Should the website appear vastly different, it will be restored to its original state in no longer than thirty minutes.
The demo area is available at:
Please note; this website is restored to its default state every thirty minutes, and so it may become unavailable while you are experimenting. If this happens, it will be restored very shortly after becoming unavailable, but your changes will be lost.
This example uses one editing user for all tasks. The username is eric and the password is the same.
Before starting
In the second part of this article you will require three image files. These are available to download below. To save an image to your own computer, right-click each one and select the option “Save image as” (or “save picture as”) and then navigate to a suitable location.


Part One: Editing Text
Logging In
When first arriving at the authoring instance, the user is presented with a login screen. This prevents unauthorised editing of pages and also allows Magnolia to build up an audit log recording not just what changes are made, but who makes the changes.
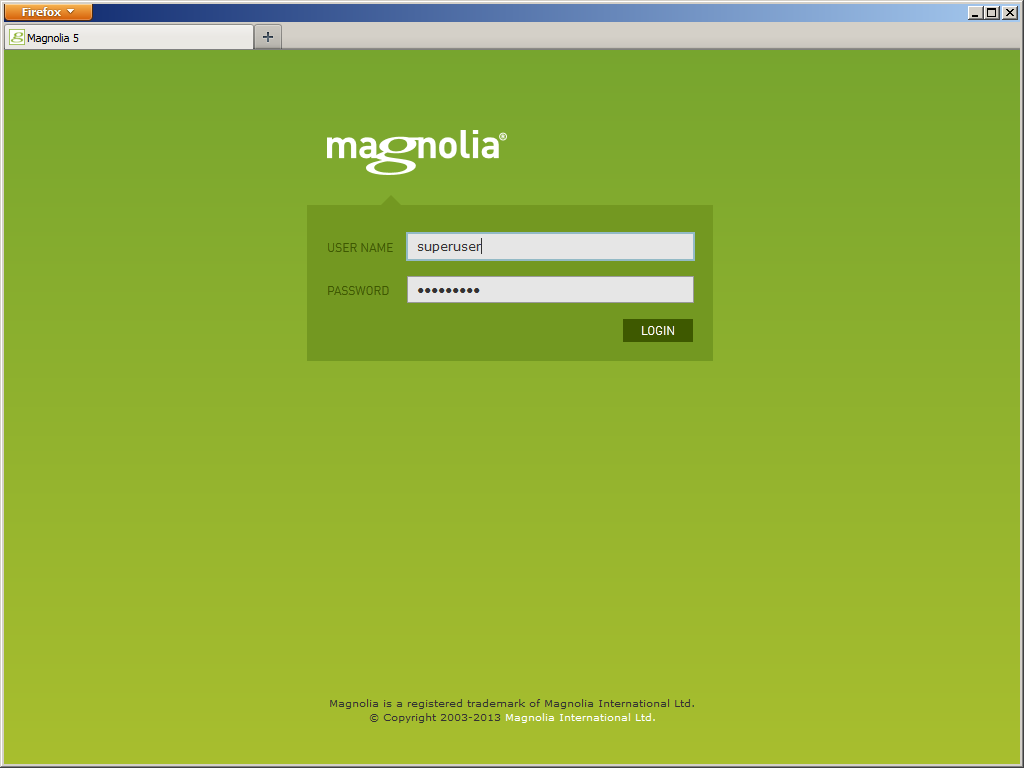
Log in using the username “eric” and the password “eric“.
Admin Central
Once logged in, you are presented with a view of Admin Central, the centre of all Magnolia editing activity. Your first view is the “app launcher” screen which lists the various apps available. In Magnolia an app is a collection of views focusing on an area of the website or its configuration. The three apps in the top of this screen, for example, allow a user to edit the pages of a website, the assets used within those pages or a collection of contacts that are used across the site.
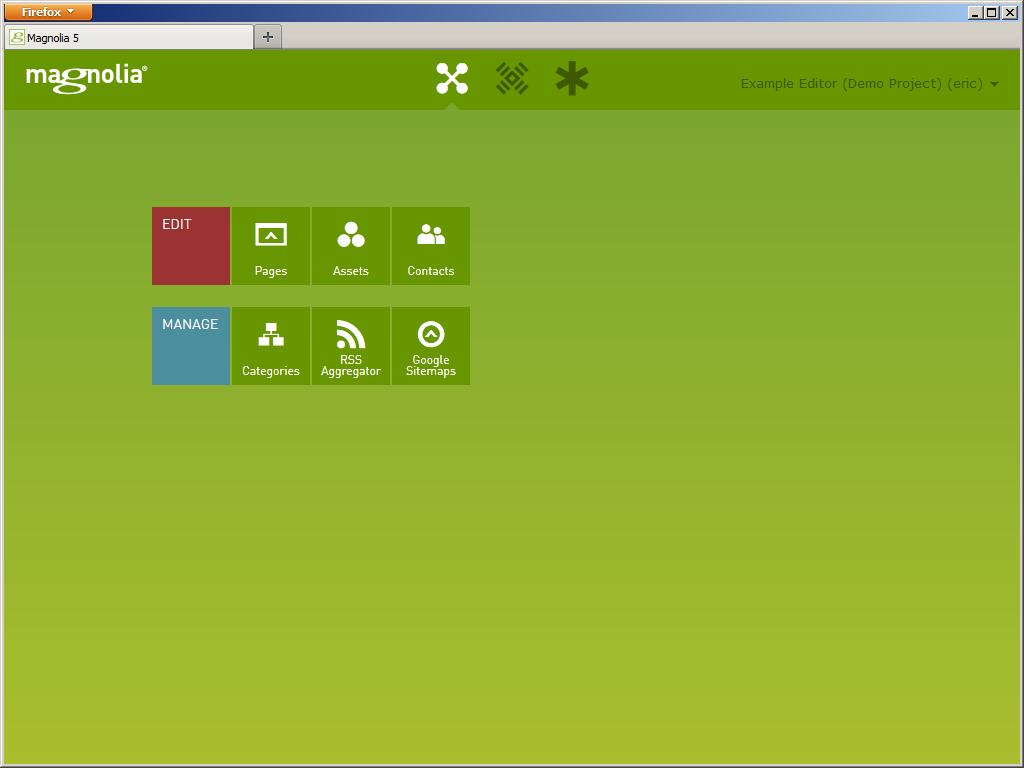
At the top of the page are three icons provided as part of the “Magnolia Shell”, the basis of the editors’ UI. The three icons represent the app launcher, the “Pulse” messaging centre and the “Favourites” area.
Favourites are new to Magnolia 5 and allow users to bookmark areas of the site they regularly visit, such as a frequently updated news page or a commonly adjusted configuration value, and access those bookmarks without having to navigate through a website that could easily grow very large.
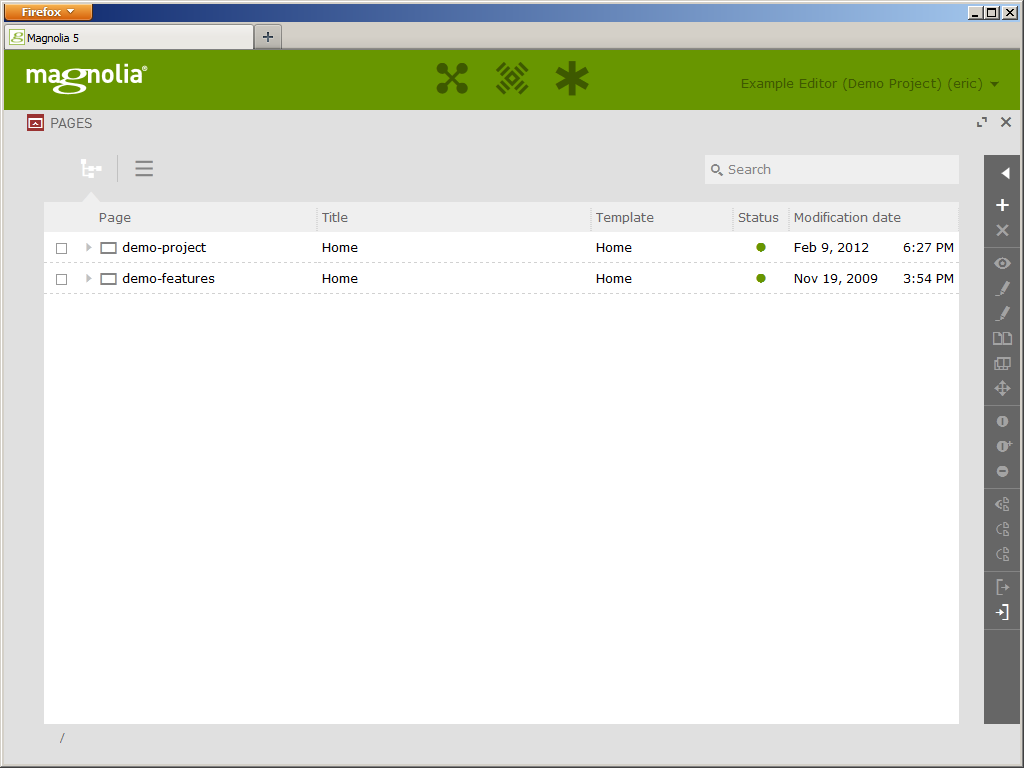
Click the first icon for the “Pages” app. The app will open a tree view representing the pages that make up the website.
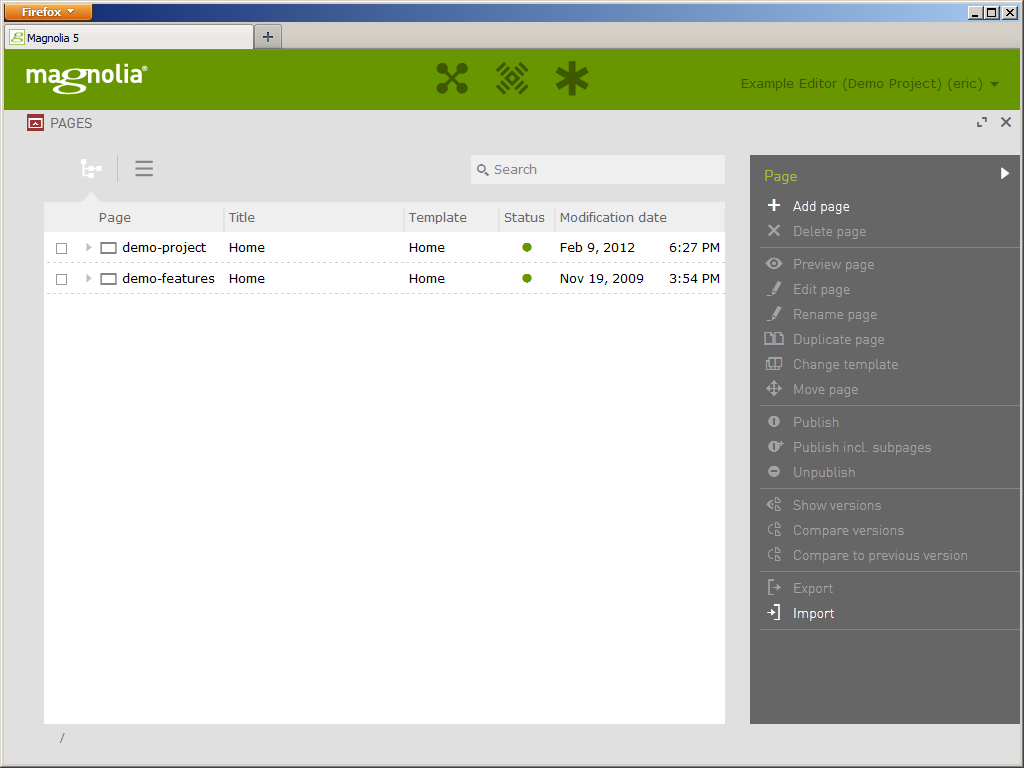
Clicking on a page title or the checkbox on the far left will select the page, illuminating a list of options in the actions list on the right-hand side of the page. Alternatively, the page title can be right-clicked to launch a menu with the same options. Removing the reliance on right-clicking with a mouse is another new feature of Magnolia 5 and makes editing content via touchscreen interfaces a possibility for the first time.
For the purposes of this demonstration, hide the action list using the white arrow next to the “Page” title and use the right-click menu (this will allow for larger screenshots in this article and clearer page titles).
Website Structure
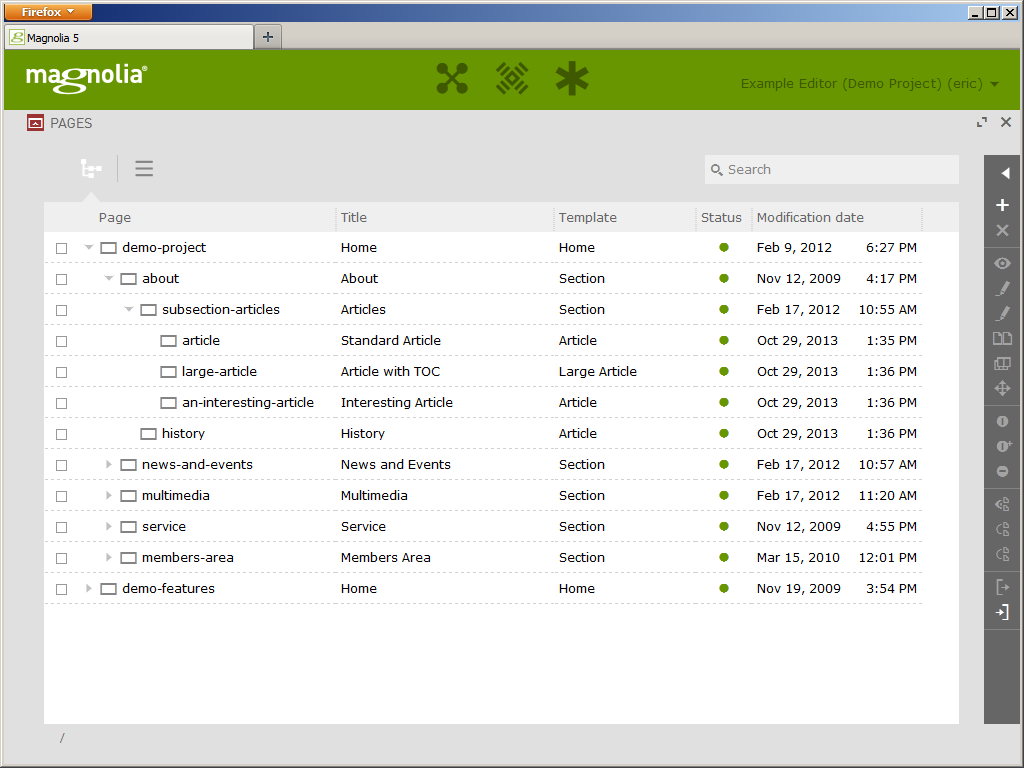
The website you will be editing is represented via a tree structure, with the homepage at the base of the tree which is then expanded to cover different sections and the pages within them. The tree can be explored by opening and closing branches using the arrow control next to the page title. In this example, Magnolia is managing two websites so there are two homepages shown.
Explore the tree until you find the articles listed under demo-project/about/subsection-articles.
Opening a Page for Editing
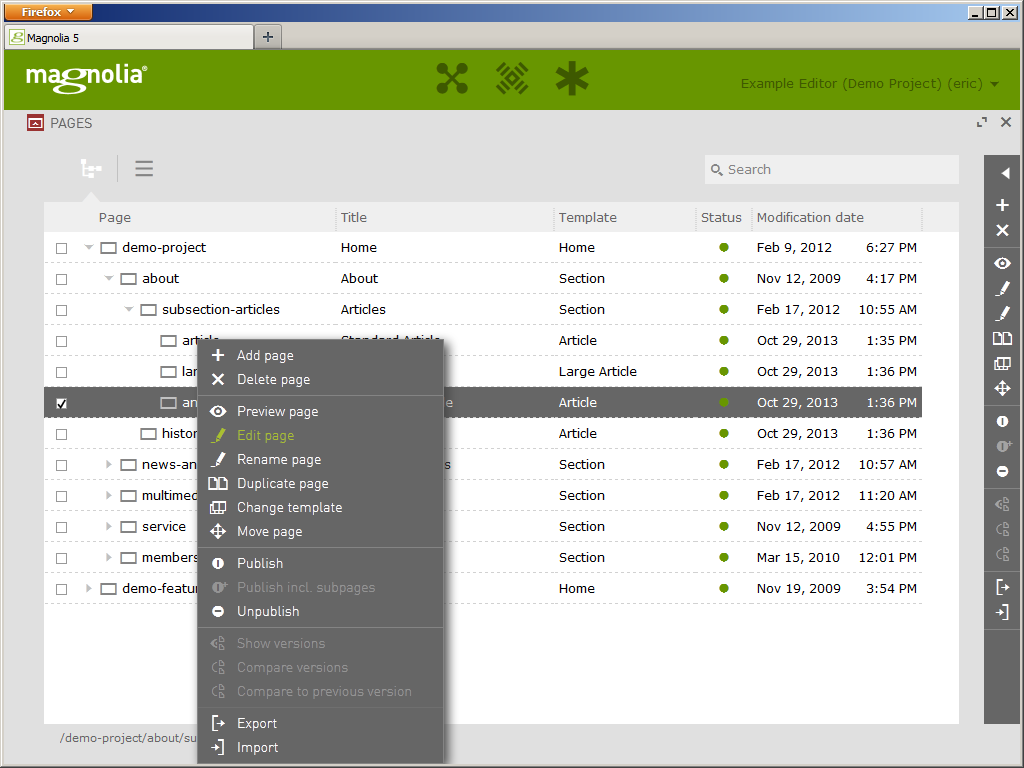
The article “an interesting article” is the target of your editing work, so you must first open it in order to see what it currently contains and what can be changed. There are three ways to do this:
- Right-clicking on any page entry in the tree will launch a menu with an “Edit page” option.
- Double-clicking on the page’s title icon will also open the page.
- With the action list open, selecting a page and then choosing the action “Edit page”.
Right click the page entry in the tree and select “Edit page”.
In-Page Editing
The selected article is now shown in edit mode. This shows the article as it will appear to a public viewer but framed by the Magnolia UI, and with green edit bars that allow access to the page’s editing dialogs.
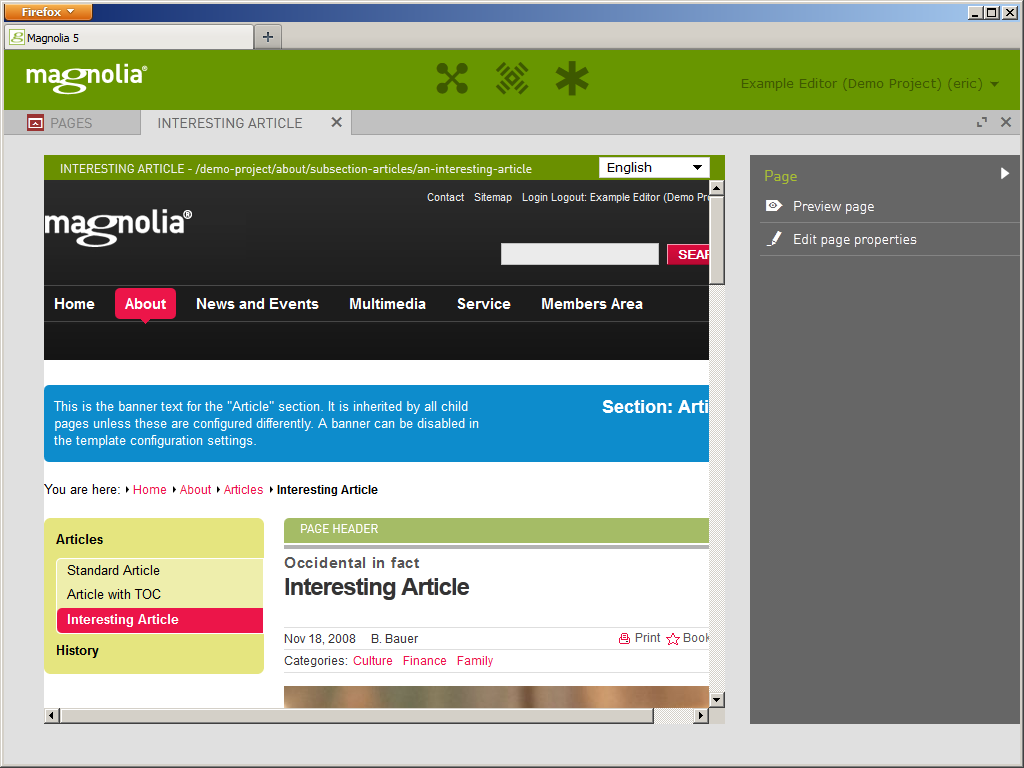
As seen previously, an action list shows the options available including “Preview page”. This links to a preview mode which shows the same page without the green bars, just as the public would see it.
Click “Preview page” to see the page presented as it will be to a public user, and then click “Edit page” in the same menu to return to edit mode.
While in edit mode, there are edit bars which control the different paragraphs that make up the page. In Magnolia, the term ‘paragraph’ can refer to a literal paragraph of text or another page element such as a header, an image, a preview of another page or any other combination of page elements.
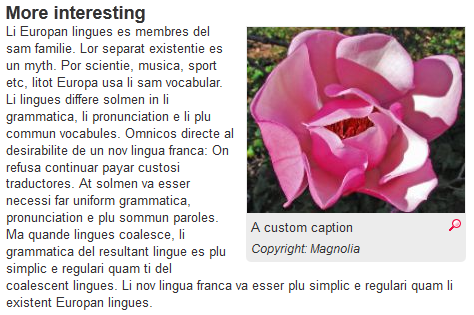
These bars always appear directly above the paragraph they control, so scroll down to the paragraph with the heading “More interesting” and click the heading or the text to show the bar above it.
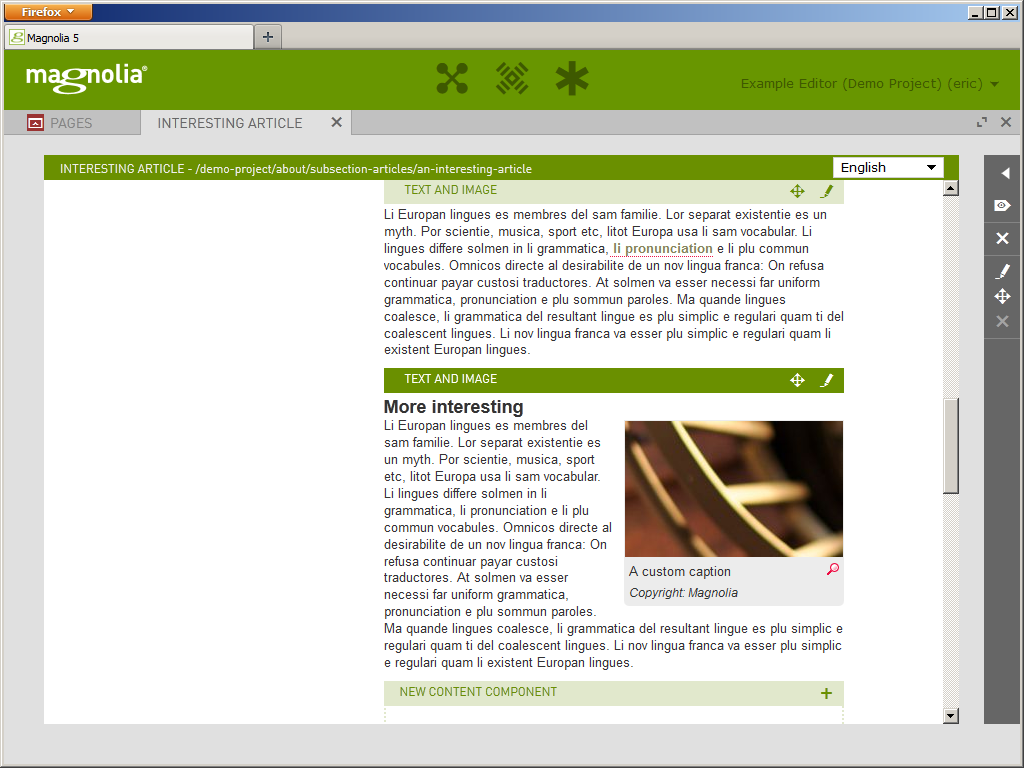
When the bar displays, click the pencil icon within it to launch the paragraph’s associated editing dialog.

Editing Dialogs
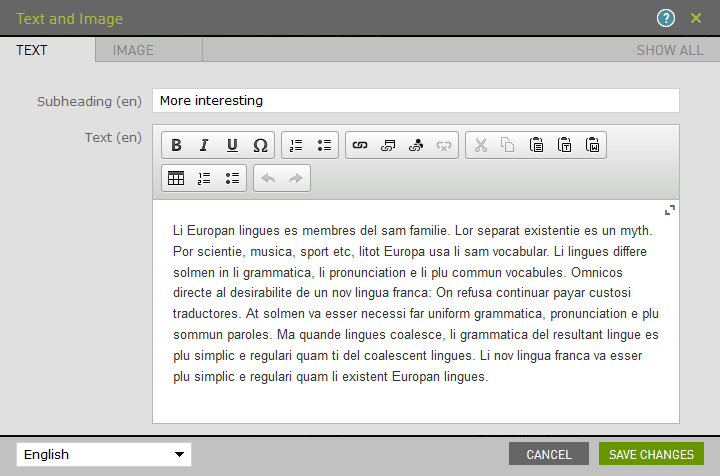
Every editable paragraph has an associated form called, in Magnolia parlance, a dialog. The dialog contains menu items for every editable option and allows you to change the paragraph. To keep things well laid out, these dialogs can be separated into tabs, accessed via the links at the top of the dialog. In this case, the paragraph has text entry fields for a subheading and the main text as well as image options, accessible via the “Image” tab.

Click the “Image” button to see how the tabs work, and then click the “Text” button to return to the text view. This is where you will enter your textual changes.
Editing Text
The field at the top of the dialog allows you to enter the text of the paragraph’s subheading. Because the format of a subheading is fixed it only allows entry of plain text. The larger area below this allows entry of the paragraph’s main text and allows the use of formatting tools through the controls above it.
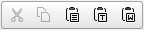
To speed up editing, text can be entered by cutting and pasting from another document. If pasting in text from another web page or from a Word document, take care not to use the ordinary paste option as this can cause problems with formatting and styling being copied across. If you want to remove all formatting, use the clipboard icon with the letter T on it to paste text with all formatting removed. If you want to keep basic formatting options like font, colour, bold and italic, use the clipboard icon with the letter W on it.
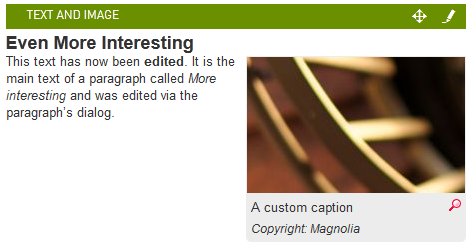
Try pasting the text below using the “T” option and adding bold styling to the word “edited” and italic styling to “More interesting”. After that, click “Save changes” to see the page updated.
This text has now been edited. It is the main text of a paragraph called More interesting and was edited via the paragraph’s dialog.
Part Two: Editing Images
After editing the text in a paragraph, you should now change the image. The image to be changed is the close-up of a staircase from the same “More interesting” paragraph.
There are three ways you might change an image and we will cover all three:
- Upload a Completely New Image
You may decide that the image previously chosen is no longer correct and wish to change it for something completely new. - Reuse an Image
If you want to reuse an image from elsewhere on the site, there should be no need to store two copies of the same image. Magnolia gives you access to all the images in use and allows you to select one to reuse. - Replace an image
Particularly useful where an image is being used in several places is the option to replace it with an updated image which will then be used everywhere in place of the original. For example, if several pages detailing events at a company’s headquarters use a map image and the company decides to move then the map becomes obsolete and every event must be updated. In this case you can replace an existing image with a new one, updating every page or paragraph that uses it.
Uploading a New Image
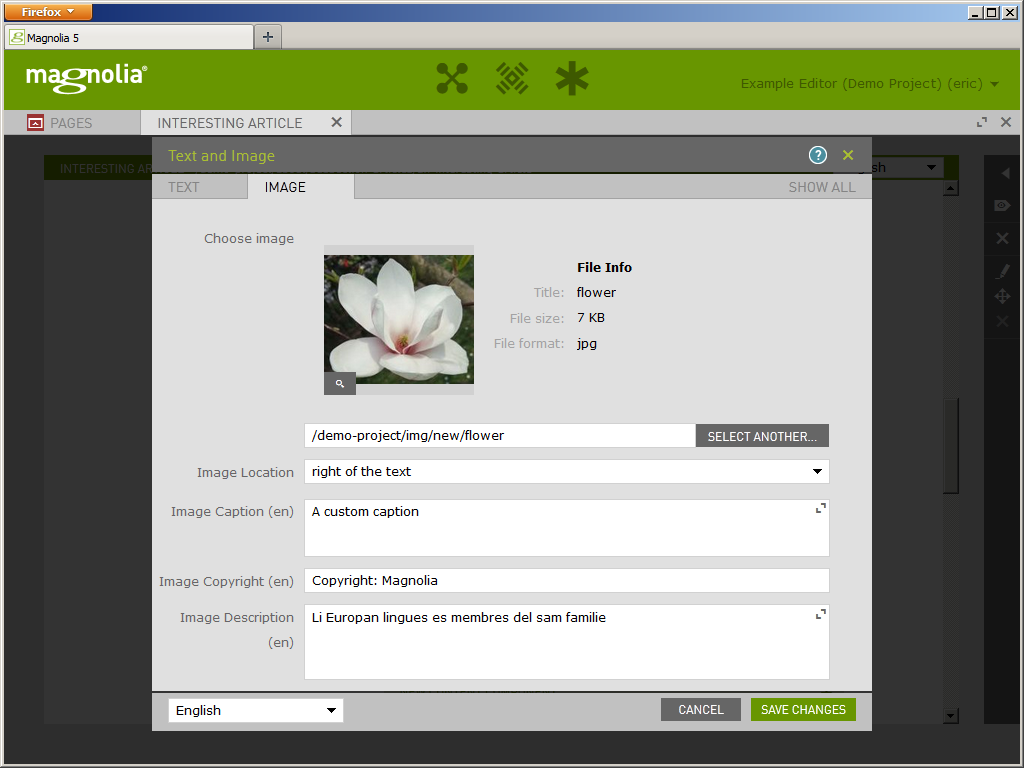
Open the edit dialog for the same paragraph you changed previously and open the “Image” tab. You will see here the option to “Select another”. If we were using an existing image, we would select it form the listing displayed here. Instead, click the button in the bottom left of the list marked “upload”.
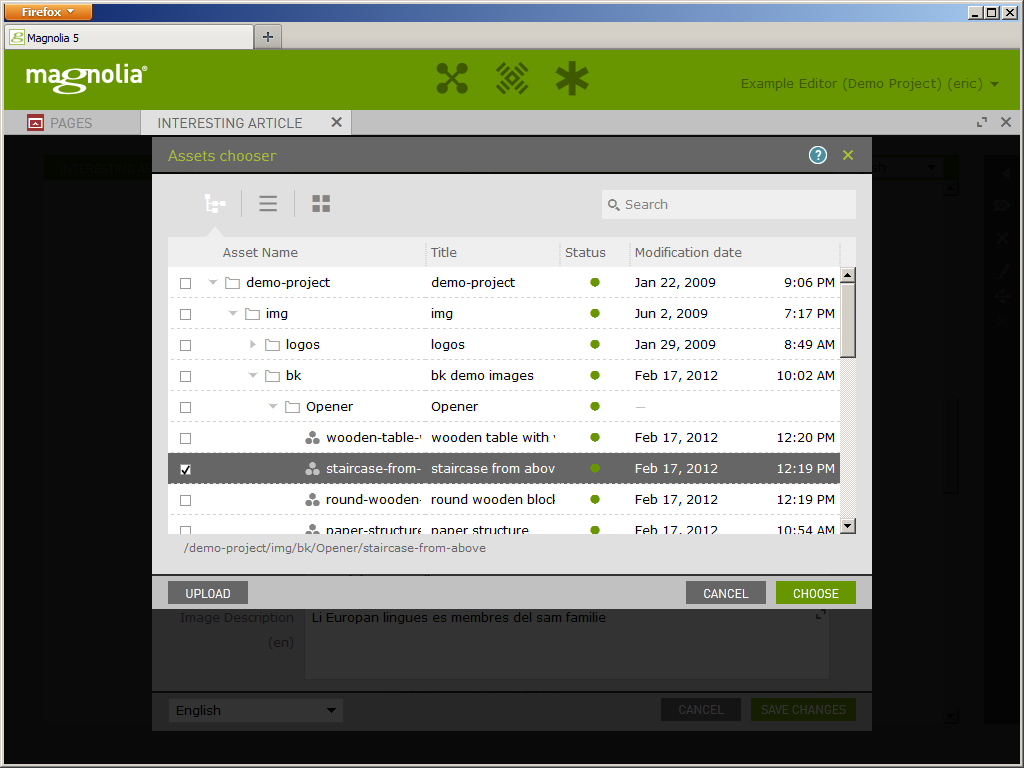
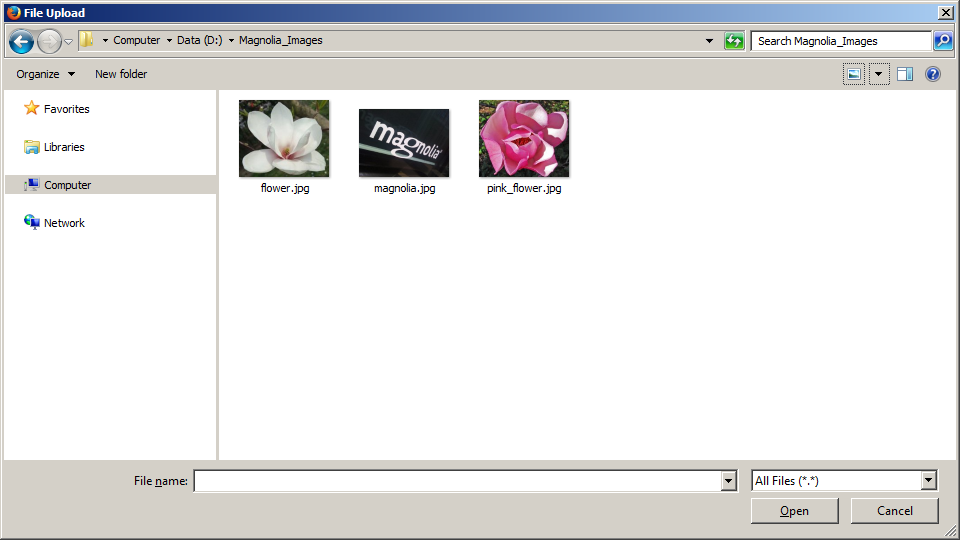
Your browser’s standard file selection dialog will open. Browse to the photo of the Magnolia logo you saved earlier and select “Open”.
After selecting an image, it will automatically upload and by default will be selected as the new image.

Click the “Choose” button to return to the dialog with a preview of the newly selected image and then click “Save changes” to close the dialog and reload the page with the new image in place of the staircase.

Introduction to Assets
As mentioned previously, sometimes images are reused throughout a website and it can be diffilcult to manage multiple copies of the same file. For this reason, Magnolia CMS contains an asset manager, labelled Assets, which can organise all of the images and downloads within a website.
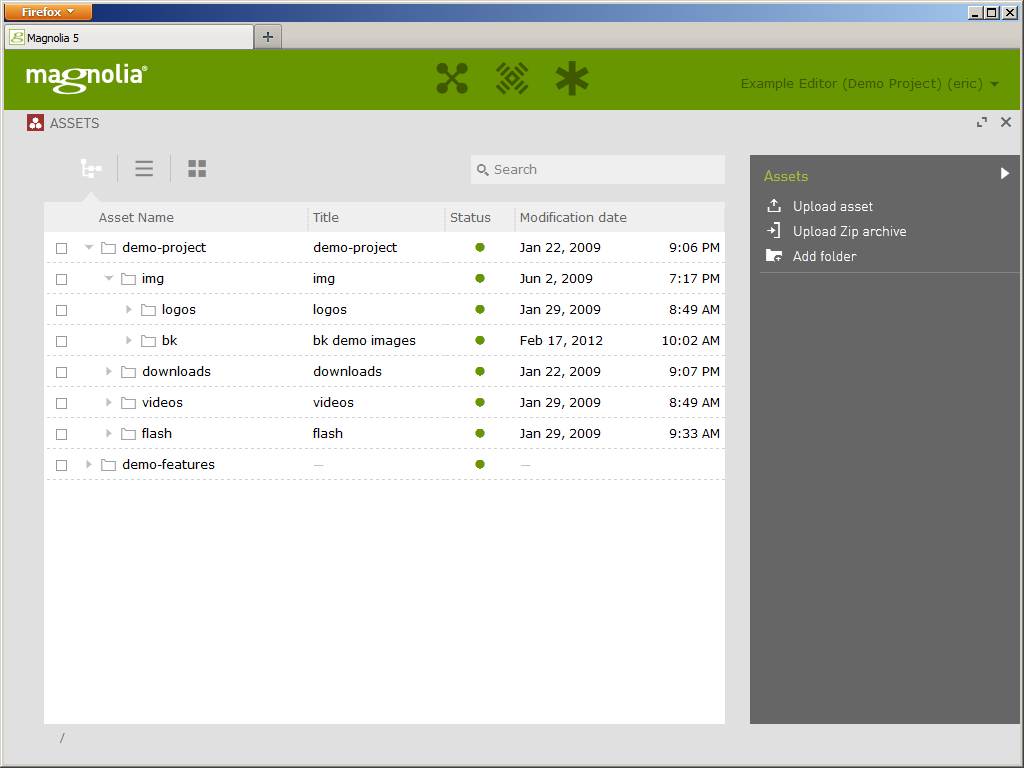
To access the site’s assets, return to the app launcher screen by clicking the first of the three shell icons at the top of the page, and then selecting “Assets” from the top row of available apps.
The asset manager will show a new tree view, this time of folders and the files within them.
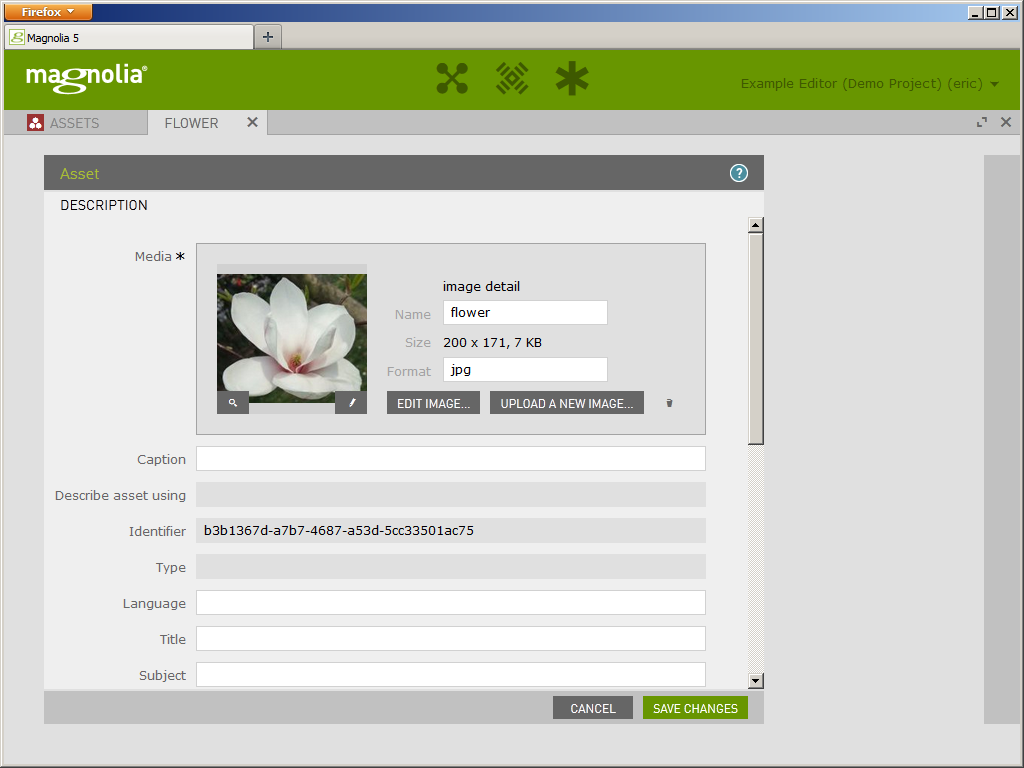
Ignoring any other folders that are shown, look into the demo-project folder and find the original staricase image that was used in the paragraph. It will be stored as demo-project/img/bk/Opener/staircase-from-above. To check this is the correct image, double click it or use the right-click menu and the option “Edit asset”. When opened, the image will be shown in a dialog along with some metadata fields. If you open the wrong image, just click the cancel button.
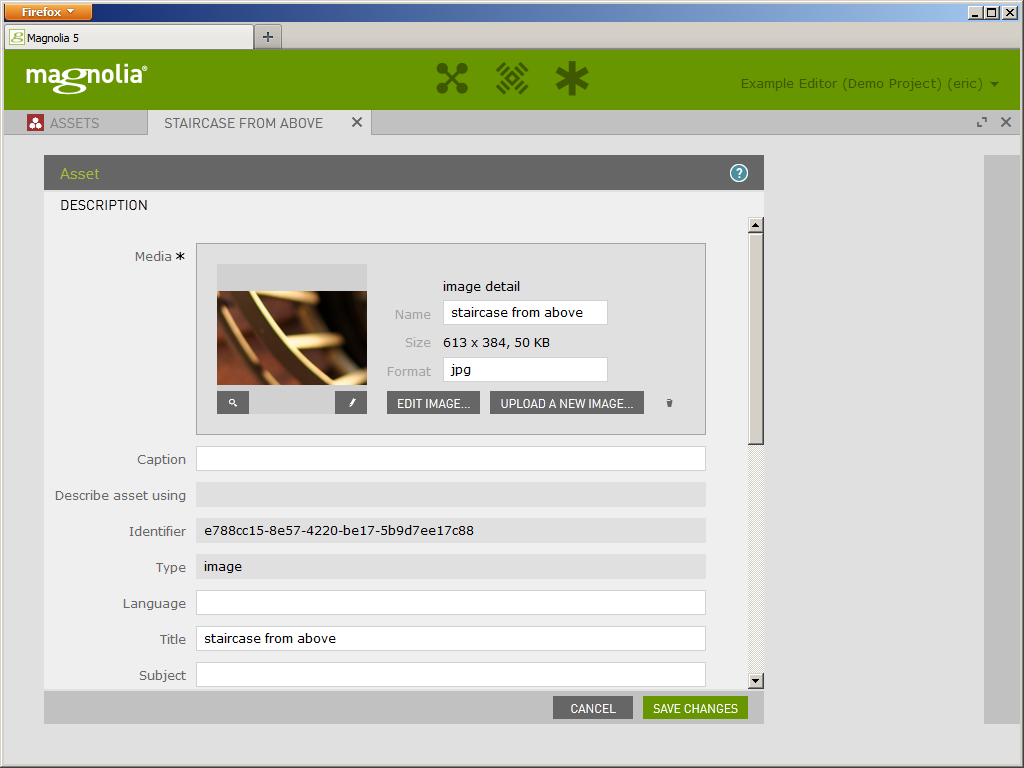
Through this interface, images can be edited much like paragraphs, but the task here is to add a new image so close the dialog with the cancel button and return to the tree view.
Adding a New Image to The Asset Manager
As one of the main roles of the asset manager is to help organise images, we must consider where to store our new image. We will use the same demo-project/img path but will add a new folder under img. To do this, right click the img folder and select “Add folder”.
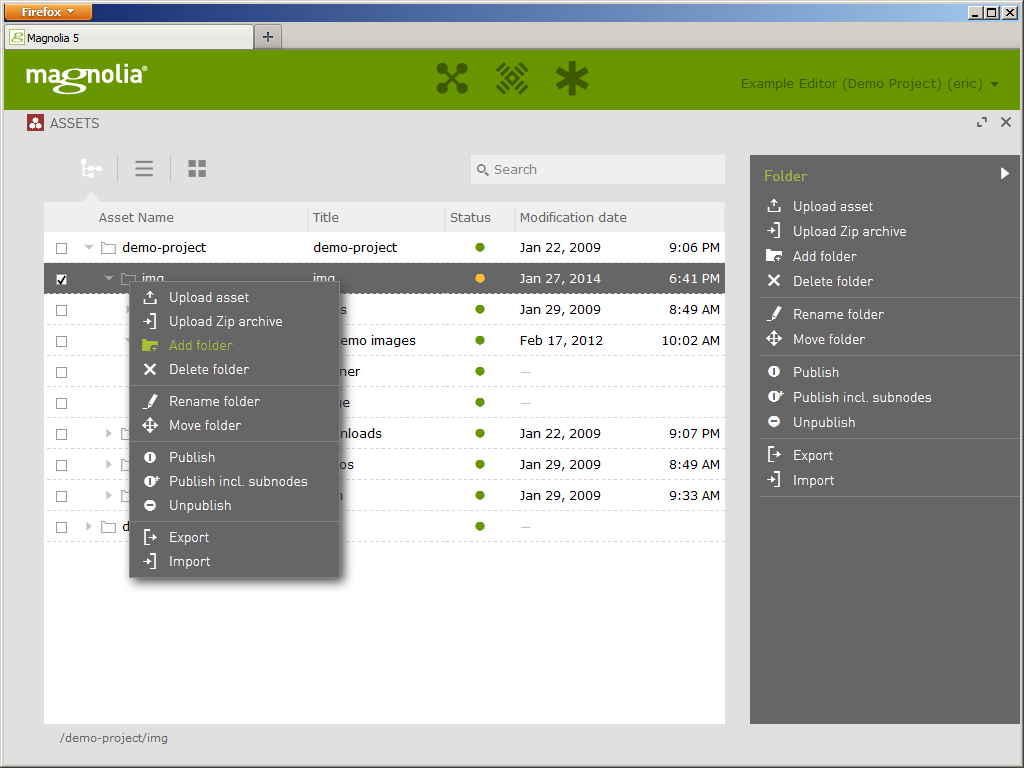
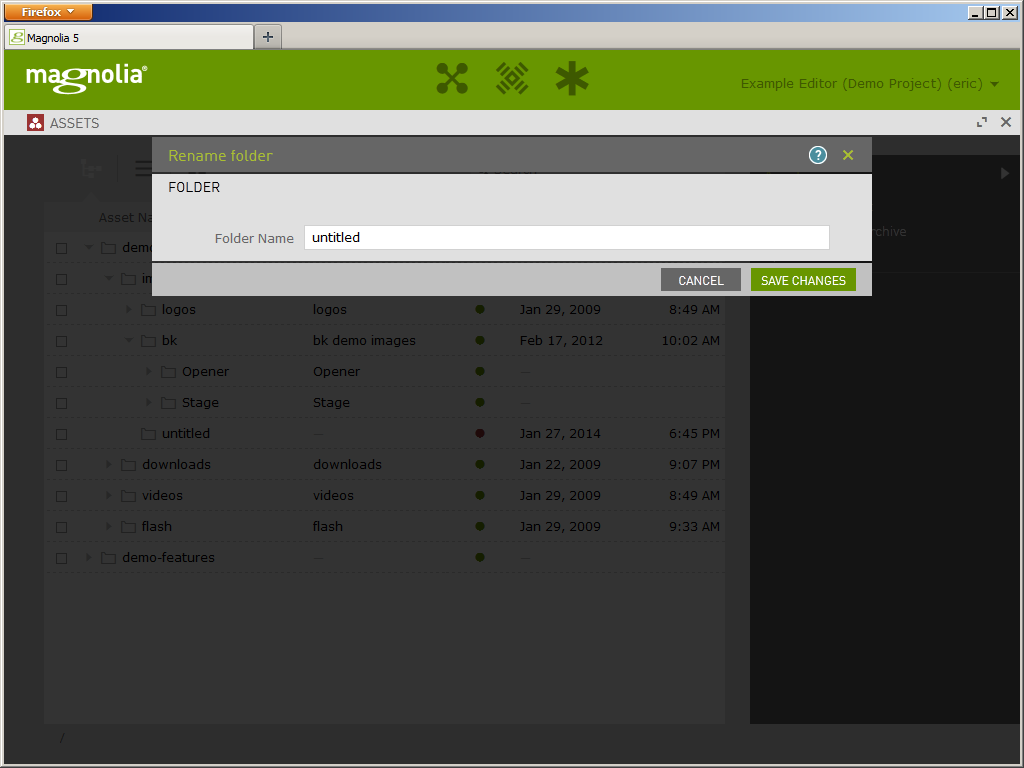
A new folder will be created with the default name “untitled”. To change the name, right-click on the text and select “Rename folder” before typing a name such as “new” into the dialog that is presented, and then click “Save changes”.
The tree will refresh to display the new name. Right-click on the newly renamed folder and select “Upload asset” to launch an empty dialog.
The form should be familiar from the first image replacement exercise. Find the file you saved earlier as flower.png and drag it into the marked area of the form. When the image has uploaded, add a subject and a brief description of your image.
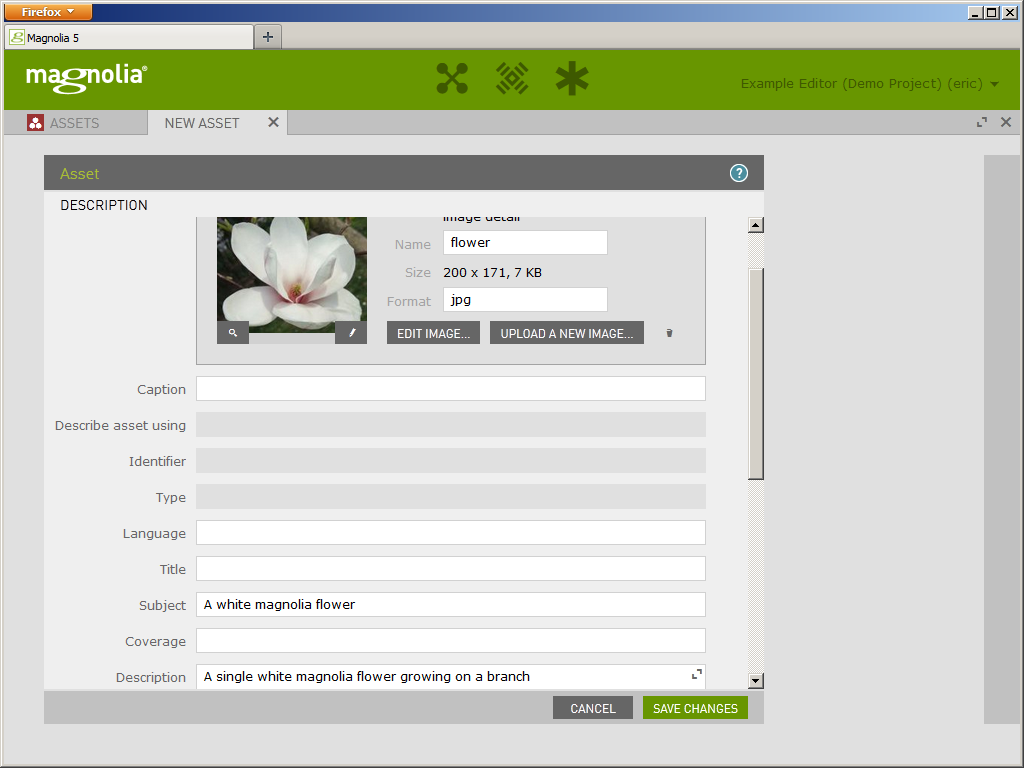
Click the “Save changes” button to add the new image and then open the “new” folder to see an entry for the new image file.

Use an Image from Assets
To make use of the new image, repeat the earlier process of opening a paragraph for editing. To do this, first click the app launcher icon on the left of the three at the top of the page and then click the icon for the “Pages” app.
You may find a page is already open. If so, you can close it by clicking the X in the tab beneath the Magnolia logo, much like the tabs in a web browser.
From the tree view, explore the website tree to find the “Interesting Article” and then right-click and select “Edit page”.
With the page open in edit mode, find the same paragraph as before, click the edit button in the edit bar, open the image tab and this time select “Select another”.
This will launch a tree browser showing the site’s assets.
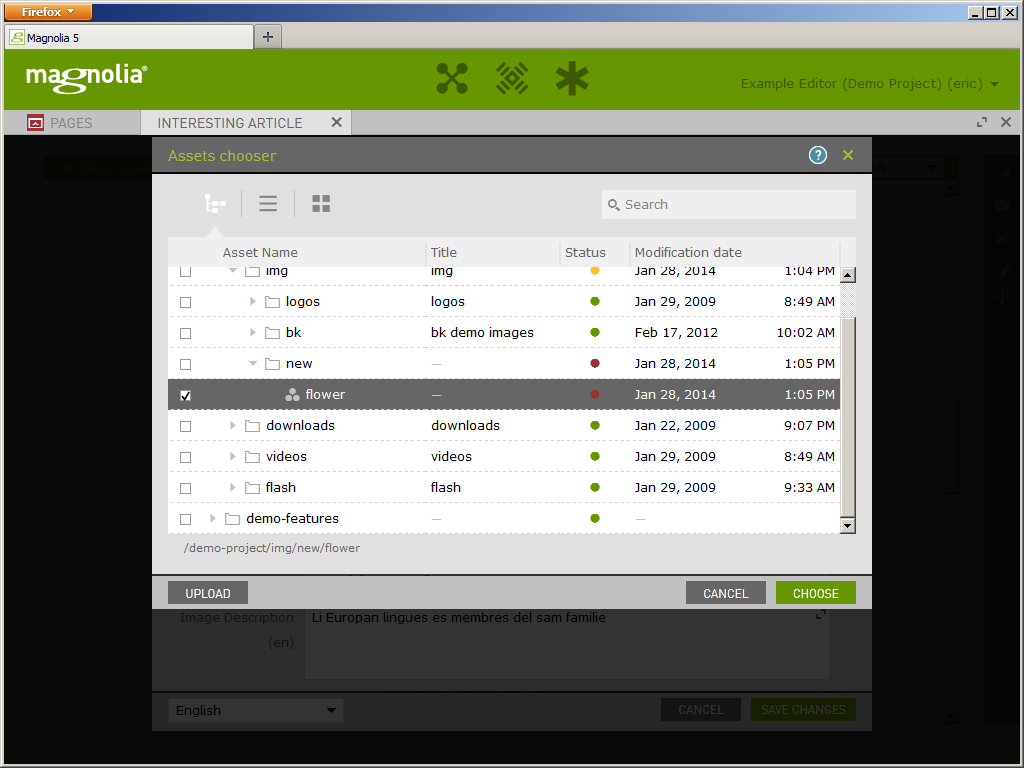
Navigate to the recently added folder and click the flower image before clicking “Choose”. This will show a preview of the image selected to replace the existing one.
To finalise the selection click “Save changes”.
Replace an Image in DMS
The final example of image usage covers replacing an image file with an updated one. As discussed before, an image used in multiple locations may be replaced in one central location and then used in place of its predecessor. In this example, you will replace the recently added image with a new one and then check that it appears on the “Interesting Article” page.
Return to the app launcher, open the Assets app and find the image used previously. Right-click it to open the context menu and select “Edit asset”. The familiar image dialog will appear with an image preview and an “Upload a new image” button.
Clicking the button will produce the file upload control seen previously. Find the pink_flower.png file on your computer and update the subject and description as necessary.
Click the save button to save the update and then return to the “Interesting Article” via the Pages tree. Open the “Interesting Article” and check that the new image has appeared in place of the one selected previously.
Conclusion
While the thought of using a CMS can at first be daunting (due to the complex range of tools available), it is easy to see how adding, editing and updating content has been simplified over time. Now, using solutions such as Magnolia CMS, users are able to quickly and effortlessly achieve their required needs, which can make products such as Magnolia so valuable to companies in the long-run.