Introduction
This article describes how to create a complete Magnolia environment that contains an Author environment and two Public environments which are served via a HAProxy load balancer. The purpose of this setup is to be able to do a full system test from a local development machine.
Developers tend to use a single local virtual machine that contains all of the components of a system. This is often architecturally very different to how the system is eventually deployed to production (live) servers, where the system is most likely spread across multiple servers, such as a database server, backend server, services layer, load balancer, etc. Spinning up multiple local virtual machines to create a more accurate representation of the production environment can be a complicated and resource intensive process. Most developers will shy away from this and instead use some form of pre-production environment for their integration testing, rather than their local environment. But it’s always beneficial, and sometimes even necessary, to test early and test often using a more accurate local representation of the production environment.
Containerisation engines, such as Docker, can help here as they allow developers to define containers for each logical component of a system. Containers make efficient use of the capacity of a host machine by separating the system architecture from the underlying operating system. This makes it feasible to model all the components of a system using multiple containers running within a single virtual machine instance.
Recreating a Typical Magnolia Setup
The following diagram (borrowed from Magnolia’s documentation) describes a typical Magnolia implementation.
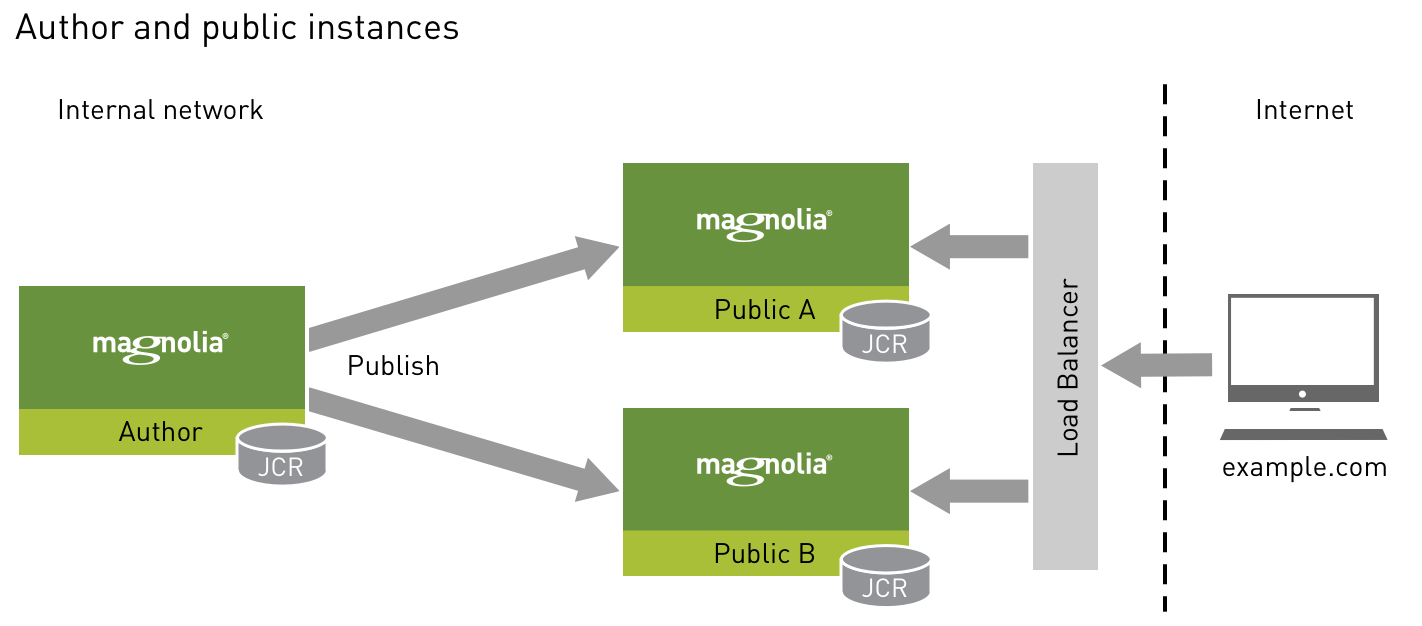
This is the target setup to model using Docker containers, with the slight variation that the database nodes (labelled “JCR” in the diagram for the Java Content Repository) are configured as standalone MySQL containers.
The following sever containers can be created:
- Author web server running Tomcat
- Author database running MySQL
- Two public web servers running Tomcat
- Two public database servers running MySQL
- HAProxy load balancer
Docker Compose files
Docker compose allows developers to define a system with multiple containers using a YAML file. The Docker compose file for the Magnolia setup described above is as follows:
version: '3'

services:

publicDB1:
container_name: mysql-public1-container
image: mysql:5.7
environment:
MYSQL_ROOT_PASSWORD: xxxxxxx
MYSQL_DATABASE: magnoliaPublic
MYSQL_USER: magnoliaPublic
MYSQL_PASSWORD: xxxxxxx
ports:
- "3307:3307"
volumes:
- ./mysql-config/public1/:/etc/mysql/conf.d
- ./db:/docker-entrypoint-initdb.d

public1:
container_name: tomcat-public1-container
hostname: public1
build: .
ports:
- "8081:8080"
expose:
- "8081"
volumes:
- ./war/ROOT.war:/opt/apache-tomcat-9.0.10/webapps/ROOT.war
links:
- publicDB1:mysql-public1-container

publicDB2:
image: mysql:5.7
environment:
MYSQL_ROOT_PASSWORD: xxxxxxx
MYSQL_DATABASE: magnoliaPublic
MYSQL_USER: magnoliaPublic
MYSQL_PASSWORD: xxxxxxx
ports:
- "3308:3308"
volumes:
- ./mysql-config/public2/:/etc/mysql/conf.d
- ./db:/docker-entrypoint-initdb.d

public2:
container_name: tomcat-public2-container
hostname: public2
build: .
ports:
- "8082:8080"
expose:
- "8082"
volumes:
- ./war/ROOT.war:/opt/apache-tomcat-9.0.10/webapps/ROOT.war
links:
- publicDB2:mysql-public2-container

authorDB:
container_name: mysql-author-container
image: mysql:5.7
environment:
MYSQL_ROOT_PASSWORD: xxxxxxx
MYSQL_DATABASE: magnoliaAuthor
MYSQL_USER: magnoliaAuthor
MYSQL_PASSWORD: xxxxxxx
ports:
- "3306:3306"
volumes:
- ./authorDB:/docker-entrypoint-initdb.d

author:
container_name: tomcat-author-container
build: .
ports:
- "8080:8080"
volumes:
- ./war/ROOT.war:/opt/apache-tomcat-9.0.10/webapps/ROOT.war
links:
- authorDB:mysql-author-container
links:
- public1
- public2

haproxy:
container_name: haproxy
image: haproxy:latest
volumes:
- ./haproxy:/haproxy-override
- ./haproxy/haproxy.cfg:/usr/local/etc/haproxy/haproxy.cfg:ro
links:
- public1
- public2
ports:
- "8000:8000"
- "70:70"
expose:
- "8000"
- "70"
The Tomcat instances are built from a Dockerfile. This file also takes care of deploying the application file (WAR file) to the Tomcat root. The application used for this demonstration was the Magnolia Travel Demo.
The two public ports are being forwarded from 8081 and 8082 to 8080. And the three MySQL instances (2 public databases and 1 author) are running on ports 3306, 3307, and 3308. This is because we are running the application on one virtual machine and therefore must use different ports to expose the services outside of the containers.
In order to run MySQL on different ports requires the port to be changed in the MySQL configuration file. This line in the Docker Compose file copies the my.cnf file to the right place:
/mysql-config/public1/:/etc/mysql/conf.d
The my.cnf file simply contains:
[mysqld]
port=3307
The “links” definition connects containers to each other. For example: publicDB1:mysql-public1-container links the Public 1 web servers to the PublicDB1 MySQL instance.
The web servers have their hostnames explicitly defined, e.g. hostname: public1. This is so that the correct Magnolia initialisation file (magnolia.properties) will be read. By default, Magnolia reads the magnolia.properties file from: WEB-INF/config/${servername}/magnolia.properties, where ${servername} is the hostname.
In the Jackrabbit configuration, the database URL is set to the Docker instance name, e.g.:
<param name=”url” value=”jdbc:mysql://publicDB1:3307/magnoliaPublic” />
HAProxy configuration
The following line maps the HAProxy configuration file:
– ./haproxy/haproxy.cfg:/usr/local/etc/haproxy/haproxy.cfg:ro
The haproxy.cfg is as follows:
global
log 127.0.0.1 local0
log 127.0.0.1 local1 notice
maxconn 4096

defaults
log global
mode http
option httplog
option dontlognull
timeout connect 10000ms
timeout client 50000ms
timeout server 50000ms

listen stats
bind 0.0.0.0:70
mode http
stats enable
stats hide-version
stats scope .
stats realm Haproxy\ Statistics
stats uri /
stats auth admin:admin

frontend balancer
bind *:8000
mode http
default_backend web_backends

backend web_backends
mode http
option forwardfor
balance roundrobin
server public1 public1:8080 check id 1
server public2 public2:8080 check id 2
bind *:8000 maps the load balancer to port 8000.
The last few lines configure the two public servers into the load, to be served using a round robin process:
balance roundrobin
server public1 public1:8080 check id 1
server public2 public2:8080 check id 2
Vagrant machine
To wrap the multiple Docker containers into a single virtual machine that can be created, destroyed and recreated at will, Vagrant was used to orchestrate the creation the VM, the installation of Docker and Docker Compose, and to start the Docker containers.
The Vagrantfile that does all this is as follows:
Vagrant.configure("2") do |config|

config.vm.box = "centos/7"
config.vm.provider "virtualbox" do |vb|
vb.memory = 8048
end
config.ssh.insert_key = 'true'

# Open Ports
config.vm.network "forwarded_port", guest: 70, host: 70
config.vm.network "forwarded_port", guest: 8000, host: 8000
config.vm.network "forwarded_port", guest: 8080, host: 1111
config.vm.network "forwarded_port", guest: 8081, host: 1112
config.vm.network "forwarded_port", guest: 8082, host: 1113

# Install Docker using Ansible script
config.vm.provision "ansible_local" do |ansible|
ansible.playbook = "docker-install.yml"
ansible.limit = "all,localhost"
ansible.become_user = "root"
end

# Start Docker
config.vm.provision "shell", inline: "docker-compose -f /vagrant/docker/docker-compose.yml up"

end
Multiple ports are forwarded on the virtual machine. These map to the Magnolia, MySQL and HAProxy servers that are configured in the Docker Compose file.
To install Docker, Ansible is first installed, and this Ansible playbook is then called.
The following line starts the Docker Compose process:
config.vm.provision “shell”, inline: “docker-compose -f /vagrant/docker/docker-compose.yml up”
The output of all of this is a process to start up the seven containers that make up the full Magnolia environment with a single command:
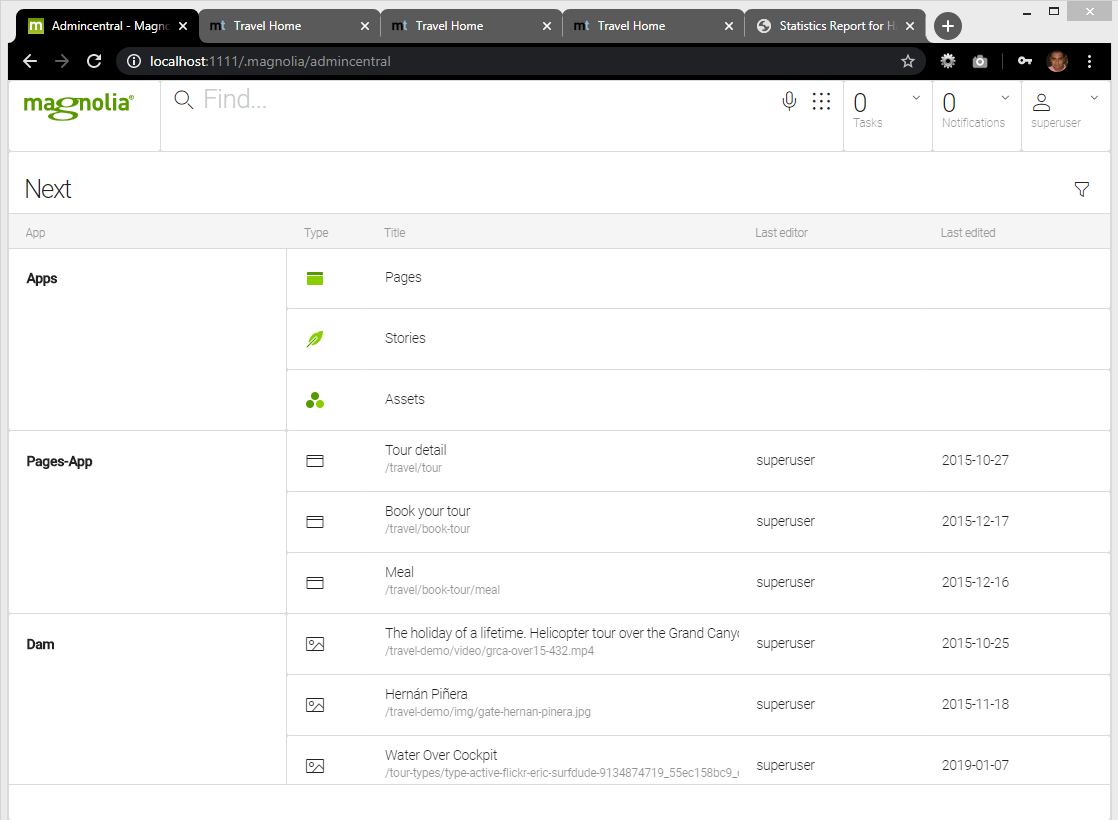
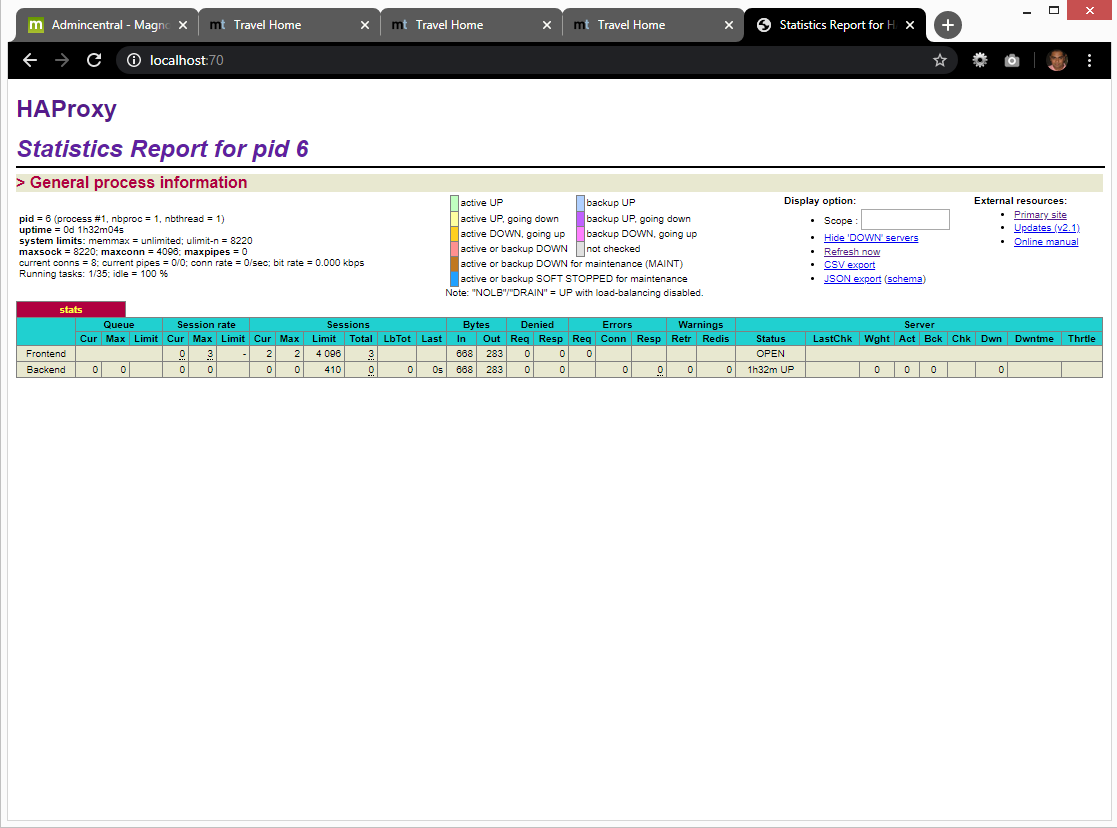
vagrant upAfter a few minutes the following instances are available:
 |
 |
 |
 |
 |
Conclusion
This framework provides an easy way for a developer to set up and test a complete Magnolia solution in a local development environment. With a simple command they can spin up a complete replica of a production environment within their local machine. By running the application locally, developers are able to debug issues with their standard tools, unencumbered by network connectivity, security policies, or other issues that may effect real-world infrastructure, and can replicate and resolve common issues that can occur when running multiple public servers behind a load balancer.